Most beginner gardeners fail in the ground. Not because they chose the wrong seeds or forgot to water. They fail because they started with soil that was already hostile: compacted, depleted, full of clay, or loaded with weed seeds that were just waiting for their moment. A raised bed removes that variable entirely. You fill it with the soil you choose. You control the drainage. You know exactly what is in there.
This guide assumes you have never built one before. By the end you will know exactly what to buy, how to fill it, and what to put in it first. The whole project takes a Saturday morning.
Why raised beds beat growing in the ground
The short answer: control. In a raised bed, you choose your soil, your drainage, and your depth. In the ground, you inherit whatever the previous owners left behind.
The longer answer involves soil compaction. Every time you walk near an in-ground bed, you compress the soil particles, reducing the air pockets that roots need to breathe. Raised beds are never walked on. The soil stays fluffy and aerated season after season with minimal effort.
- Drainage you control: raised beds drain from all sides, not just downward
- Fewer weeds: you import clean soil rather than waking up a dormant weed bank
- Earlier spring planting: raised soil warms up faster than ground soil by 2 to 4 weeks
- Easier pest management: adding hardware cloth underneath stops gophers cold
- Accessibility: a 12 to 18 inch bed is comfortable to tend without kneeling
The best soil you will ever grow in is soil you controlled from the start.
The dimensions that actually matter
Four feet wide. That is the single number worth memorizing. A four foot wide bed lets you reach the center from either side without stepping in. Anything wider and you will end up leaning in, compacting the soil, and slowly defeating the purpose of the whole structure.
For length, eight feet is the traditional choice and fits a standard lumber length perfectly. Twelve feet is fine if you have the space. Six feet is great for a first build.
↔
WIDTH
4 ft
Max reach from both sides
↕
LENGTH
8 ft
One lumber length, no waste
⬇
DEPTH
12"
Enough for tomatoes and carrots
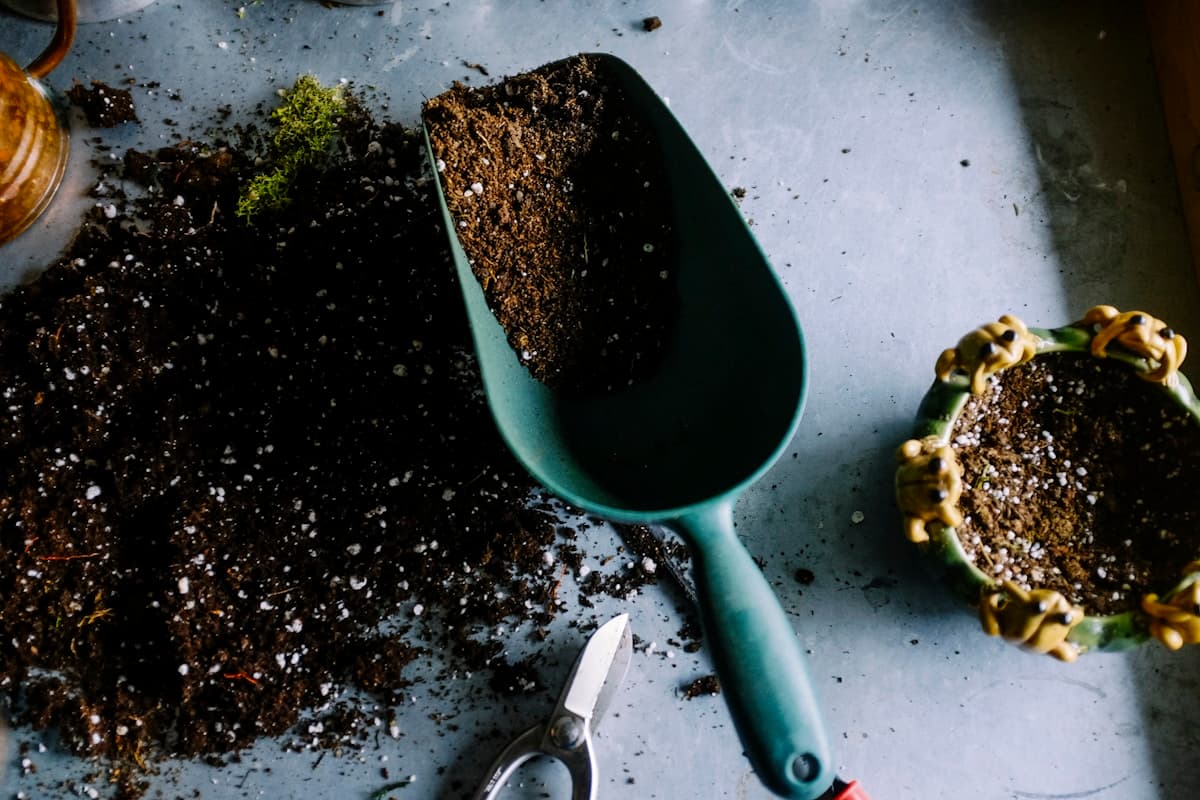
The soil formula everyone gets wrong
The most common raised bed mistake is filling the bed with straight garden soil from a bag. It sounds logical. It produces mediocre results. Bagged garden soil is dense, drains poorly, and compacts significantly over the first season.
The mix that actually works: 60% quality topsoil, 30% compost, 10% perlite or coarse sand. This combination drains well, holds moisture between the particles, and feeds your plants a slow release of nutrients through the season.
If you want to simplify: Mel Bartholomew's famous "Mel's Mix" is one third vermiculite, one third peat moss (or coconut coir), one third blended compost. It costs more than a simple topsoil fill but produces extraordinary yields in a first-year bed.
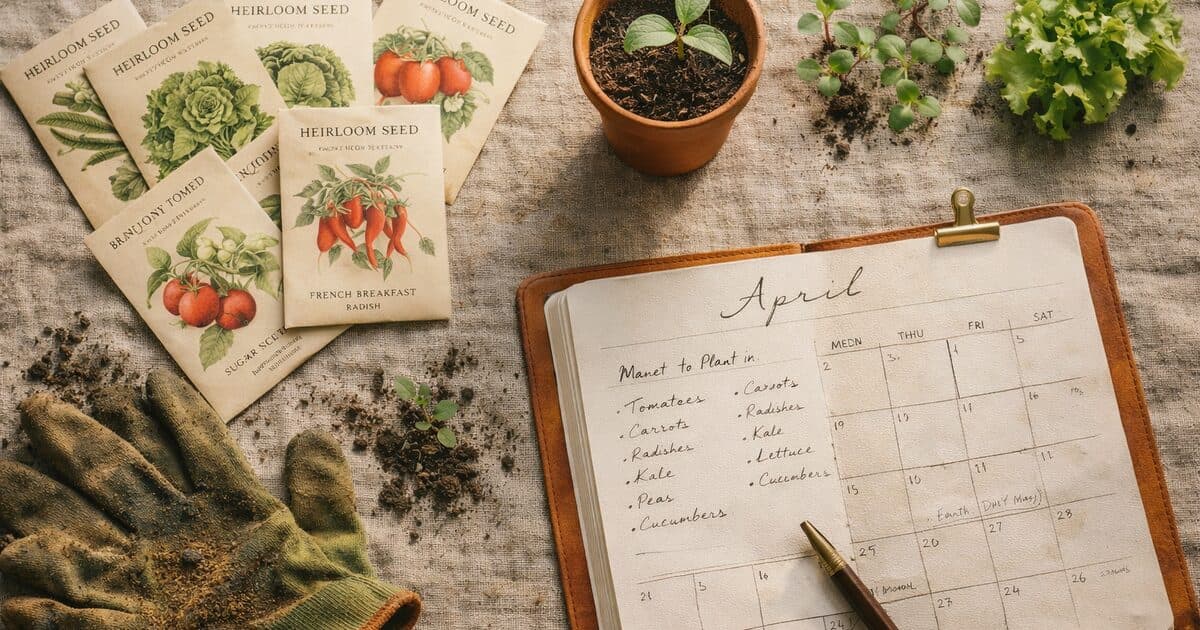
What to plant in your first season
Resist the urge to plant everything at once. Your first season is a learning season, and a packed bed with twelve varieties tells you almost nothing when something goes wrong.
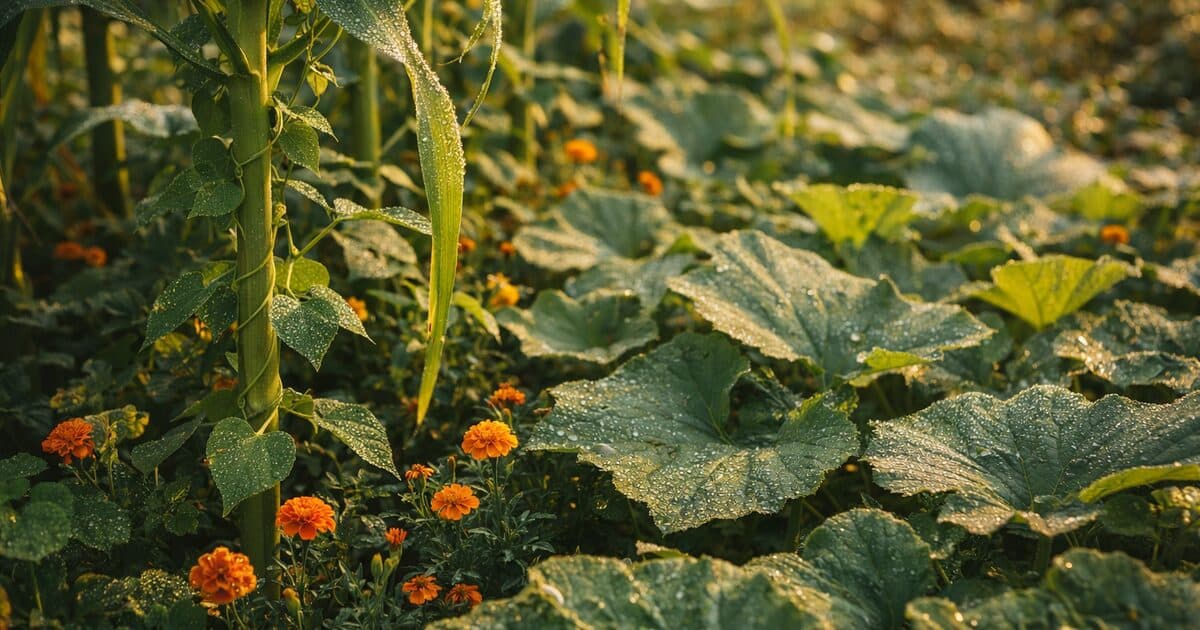
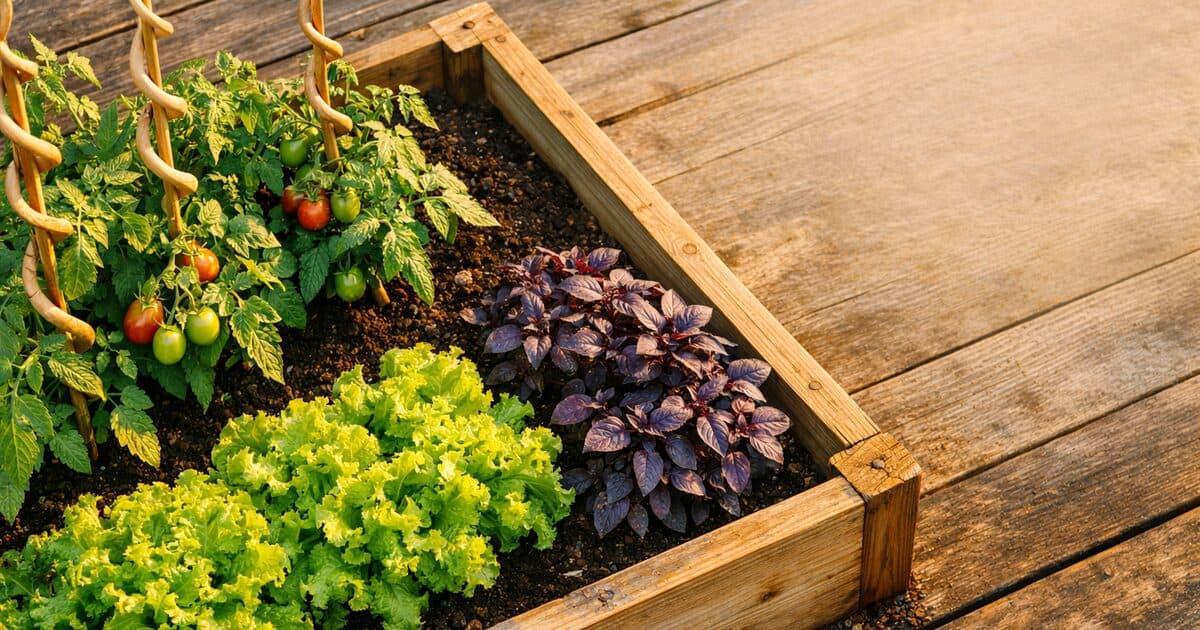
The classic beginner combination that never fails: tomatoes at the back, basil nearby as a companion, lettuce along the front edge (it tolerates partial shade from the taller plants), and one row of carrots or radishes down the center. This is the 4x8 planting grid used by beginner gardeners in every climate zone from Maine to California.
4×8 FOOT RAISED BED — TOP VIEW
Notice the marigolds in the grid. They earn their space by repelling aphids, whiteflies, and even nematodes. Plant them at the corners and between taller crops. They look good, they perform a function, and they're one of the easiest plants you'll ever grow from seed.
Watering: the one thing most people overthink
Raised beds dry out faster than in-ground beds. This is mostly a feature (no waterlogging, no fungal problems) but it means you need to water more frequently, especially in the first few weeks after transplanting.
The simple rule: stick your finger two inches into the soil. If it's dry at that depth, water thoroughly. If it's still damp, check again tomorrow. You don't need a moisture meter, a schedule, or an app. Your finger works fine.
The actual mistake most beginners make isn't underwatering. It's watering lightly every day instead of deeply every few days. Shallow watering trains roots to stay near the surface. Deep, infrequent watering pulls roots downward, where the soil stays cooler and retains moisture longer between sessions.
Water the soil, not the leaves. Deep and infrequent wins every time.
The weekend build checklist
Choose your location: at least 6 hours of direct sun daily
Buy lumber: two 2×10×8 boards and two 2×10×4 boards per 4×8 bed
Level the ground under where the bed will sit
Assemble the frame with 3-inch exterior screws (no need for corner brackets)
Line the bottom with cardboard to suppress weeds (skip the landscape fabric)
Fill with your soil mix, layering in compost as you go
Water thoroughly before planting to let the soil settle
Plant. Stand back. Wait.