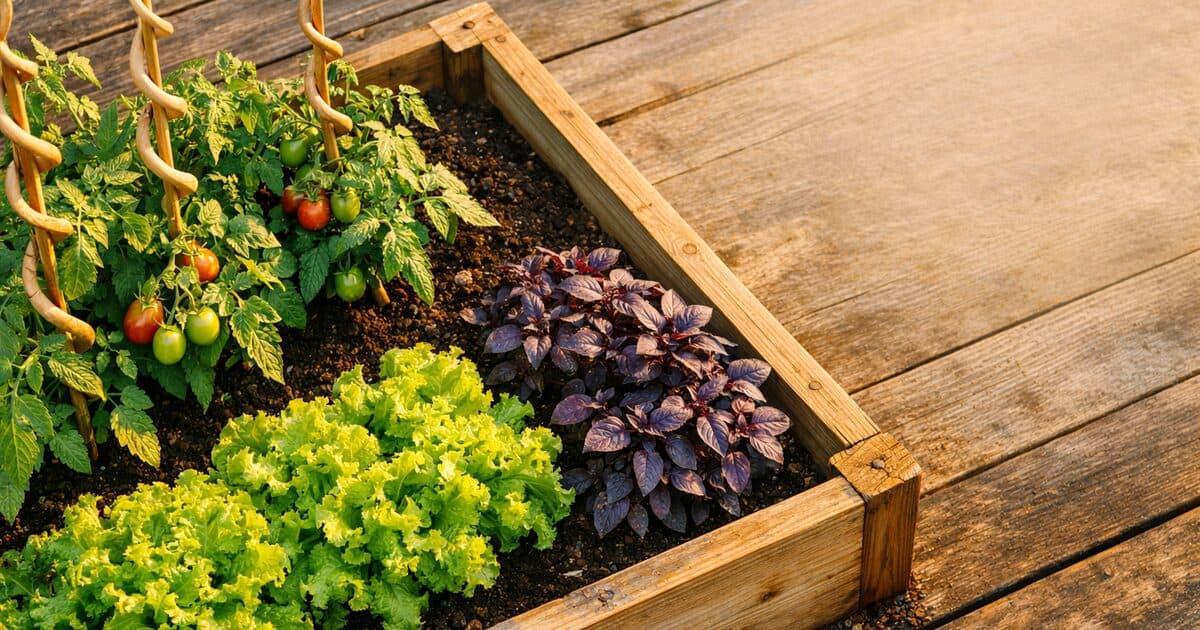
Fall is when most gardeners check out. The tomatoes are spent, the zucchini got away from you, and the thought of starting a new task list is exhausting. But the gardeners who do the work now, who amend soil before it freezes, plant garlic while the ground is still cooperative, and put the tools away properly, are the ones who hit April running while everyone else is still catching up.
These eight tasks are not about squeezing more productivity out of a tired season. They are investments. Most take less than an hour. The payoff shows up next May when your soil is already alive and your garlic is already six inches tall.
TASK TIMELINE: WEEKS RELATIVE TO FIRST FROST
Task 1: Figure out your first frost date
Everything in fall gardening is anchored to your average first frost date. Not the USDA zone, but the actual date, which you can find for your exact zip code at weather.gov or a local extension service. Write it down. The entire fall schedule flows backward from it.
In practice: start your fall prep six to eight weeks before that date while the soil is still warm enough to work and seeds can still germinate. In Zone 6 (first frost around October 15), that means starting in late August. In Zone 8 (first frost around November 15), you have until mid-September.
AVERAGE FIRST FROST DATE BY USDA ZONE
The difference between a gardener who struggles every spring and one who thrives is usually a few October afternoons of deliberate work.
Task 2: Clear spent plants, but do it selectively
Pull any plant that showed signs of disease: powdery mildew, early blight, botrytis, or bacterial wilt. These all overwinter in plant debris and soil. Diseased material goes in the trash, not the compost pile. Healthy plants (clean bean vines, basil stems, sunflower stalks) can go directly into a compost pile.
Leave the roots of legumes (beans, peas) in the soil. They fix atmospheric nitrogen through root nodules, and those nodules continue releasing nitrogen as they decompose over winter. Cutting the plant at soil level rather than pulling delivers that nitrogen free.
- Pull diseased plants immediately. Trash them, don't compost.
- Cut (don't pull) healthy annuals at soil level to preserve root channels
- Leave legume roots in place for nitrogen decomposition
- Remove fallen fruit from beneath trees and shrubs. It harbors overwintering pests.
- Leave ornamental seed heads intact. They feed birds through winter.
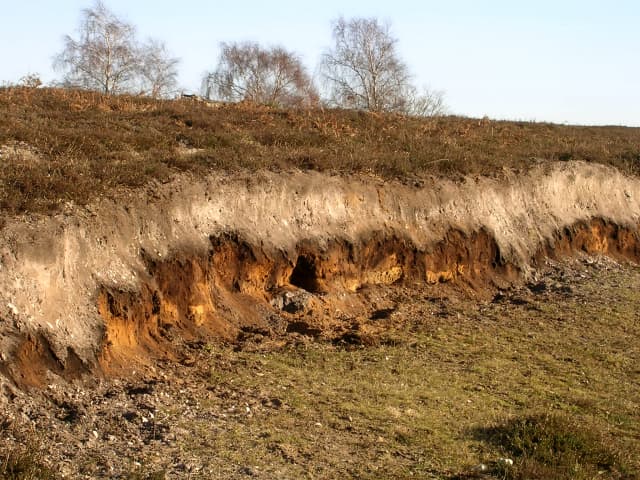
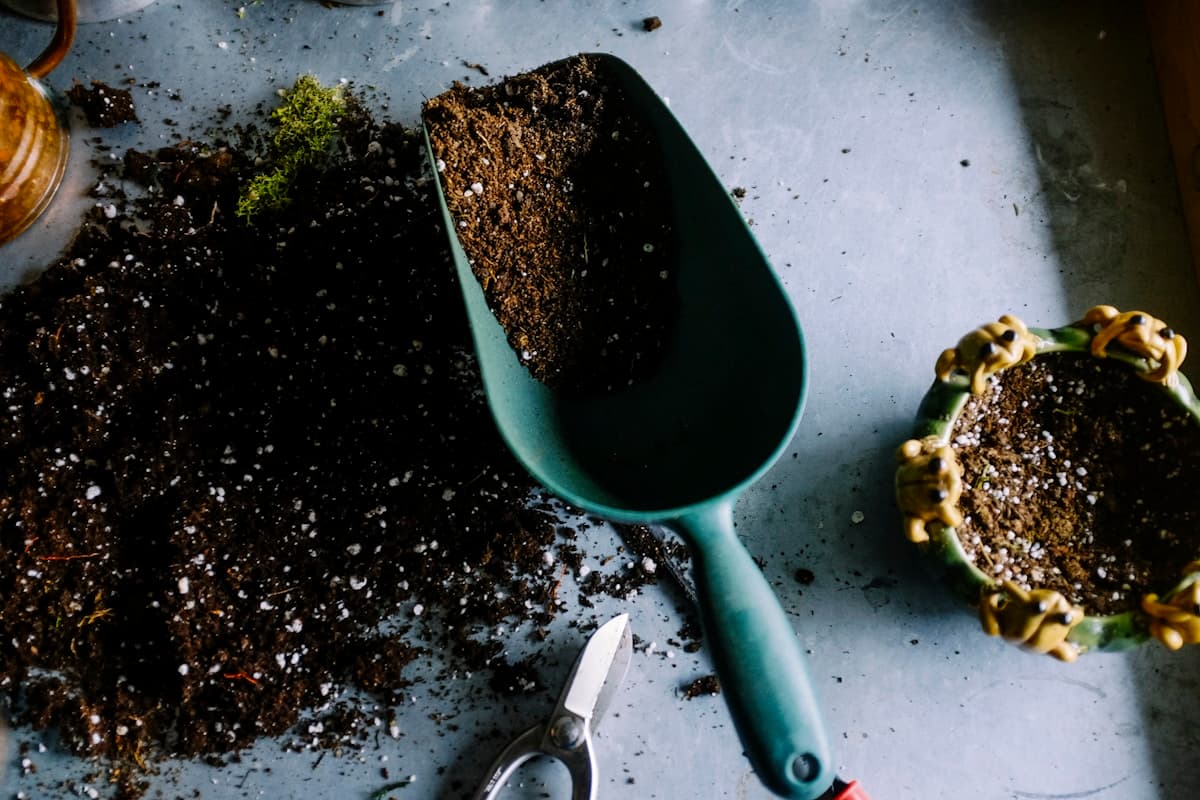
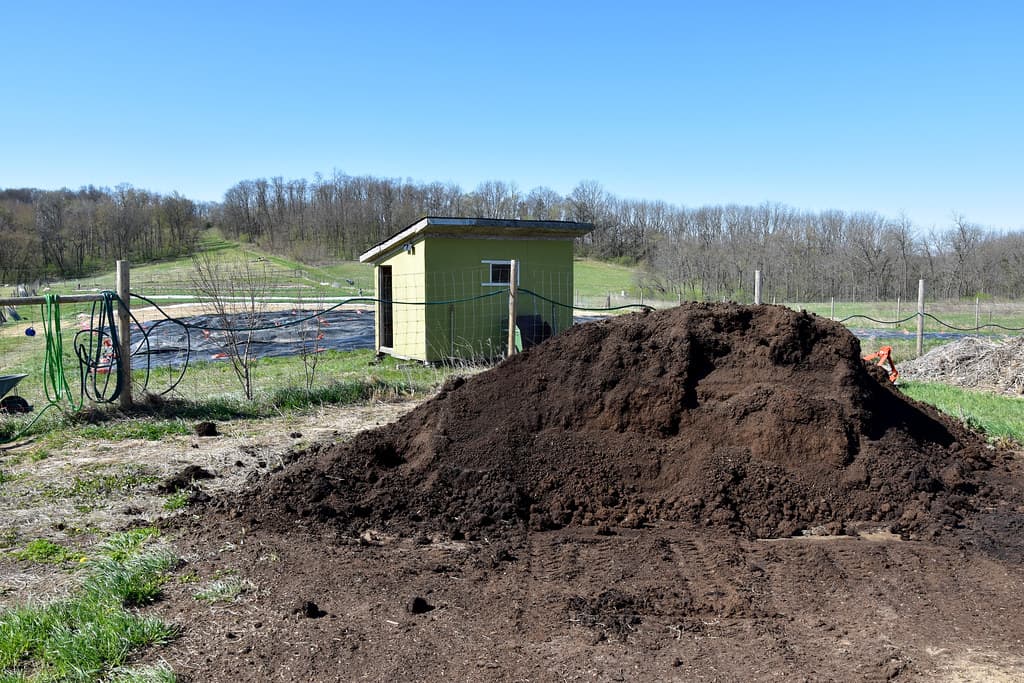
Task 3: Amend soil now, not in spring
Compost added in fall has all winter to break down and integrate with the soil structure. Spring-applied compost is biologically active but still chunky. It hasn't had time to become the silky humus that roots move through easily. Fall is when the amendment does the most good with the least effort from you.
Spread two to four inches of finished compost across every bed and work it lightly into the top six inches. If you have a soil test showing pH issues, fall is also the right time to apply lime (to raise pH) or sulfur (to lower it). Both need months to take effect, and neither will show up meaningfully on a spring test if you apply them in April.
COMPOST
2–4 inches
Top-dress and lightly incorporate
6 wks before frost
LIME
5–10 lbs/100 sq ft
pH below 6.0. Test first.
Any time soil unfrozen
COVER CROP
1 lb/1000 sq ft
Winter rye or crimson clover
4–6 wks before frost
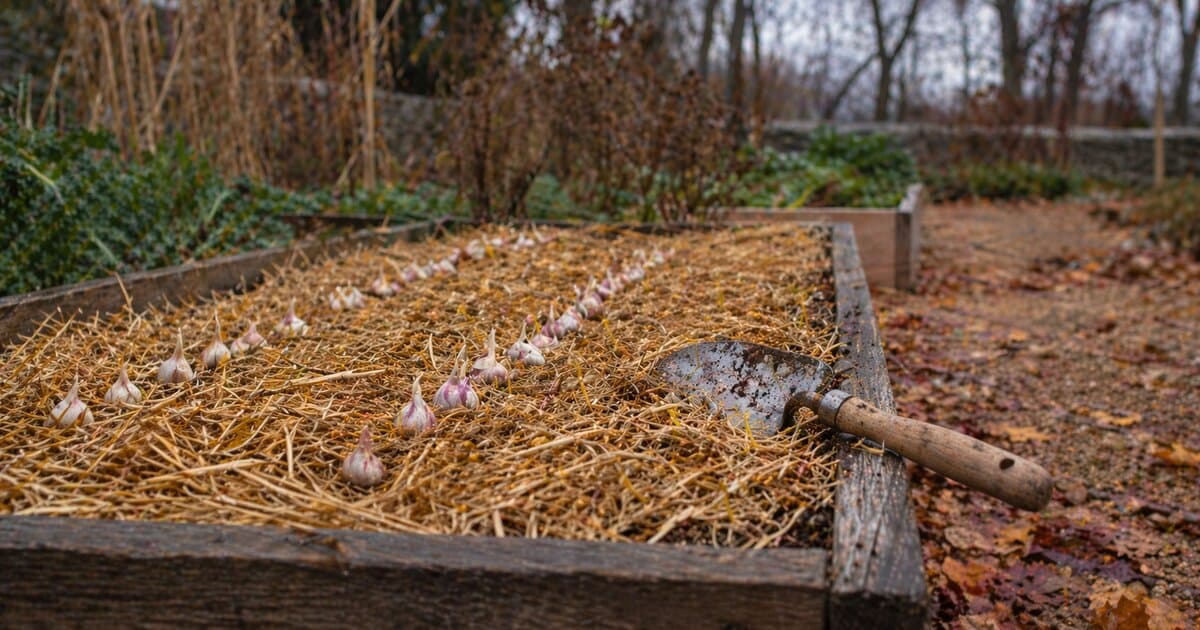
Task 4: Plant garlic (this is the one non-negotiable)
Garlic is planted in fall because it needs a cold vernalization period (weeks of near-freezing temperatures) to form proper bulbs. Spring-planted garlic produces undersized bulbs or none at all. Plant 4–6 weeks before your first hard frost (not just a light frost) so cloves can establish roots before the ground freezes.
Break a bulb into individual cloves. Plant each clove 2 inches deep, 6 inches apart, with the pointed end up. Cover with 2–3 inches of mulch after planting. The cloves will develop roots but not break the surface until late February or early March, when the first green shoots are one of the most welcome sights in the garden.
Hardneck varieties (Rocambole, Porcelain, Purple Stripe) are best for Zone 6 and colder. Softneck varieties (Artichoke, Silverskin) are better for Zones 7 and warmer where winters are mild. Order seed garlic from a regional supplier rather than grocery store bulbs, which are often treated to prevent sprouting.
Task 5: Clean and store tools properly
A shovel left with soil caked on the blade through a wet winter will have a rusted, pitted surface by March. Spending 30 minutes now cleaning, sharpening, and oiling tools makes them last a decade longer and work significantly better.
Remove all soil with a stiff brush or putty knife while the tool is still slightly damp.
Sand any rust spots with 80-grit sandpaper until bare metal is exposed.
Sharpen hoe and spade blades with a mill file: 5 to 10 strokes at the factory bevel angle.
Wipe all metal surfaces with a rag dampened with boiled linseed oil or WD-40.
Rub wooden handles with raw linseed oil to prevent cracking and splitting.
Hang tools by the handle (not the head) in a dry location. Never store in soil contact.
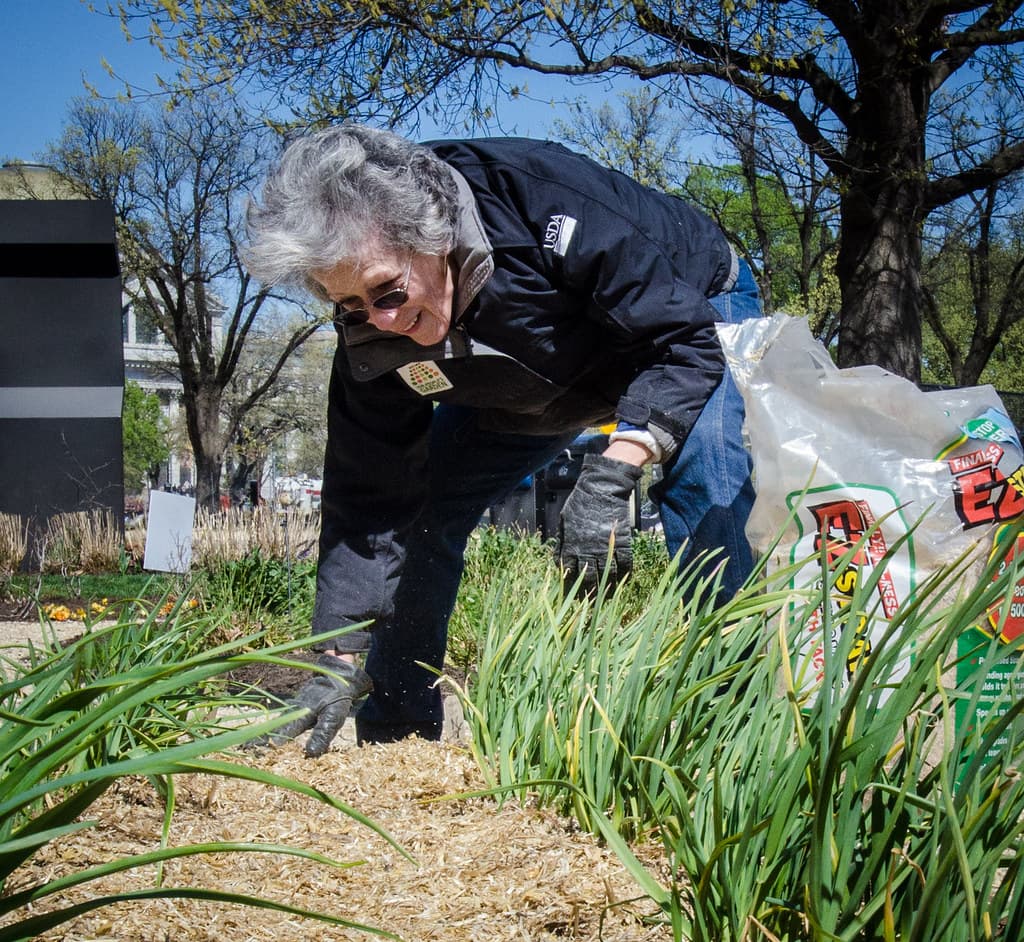
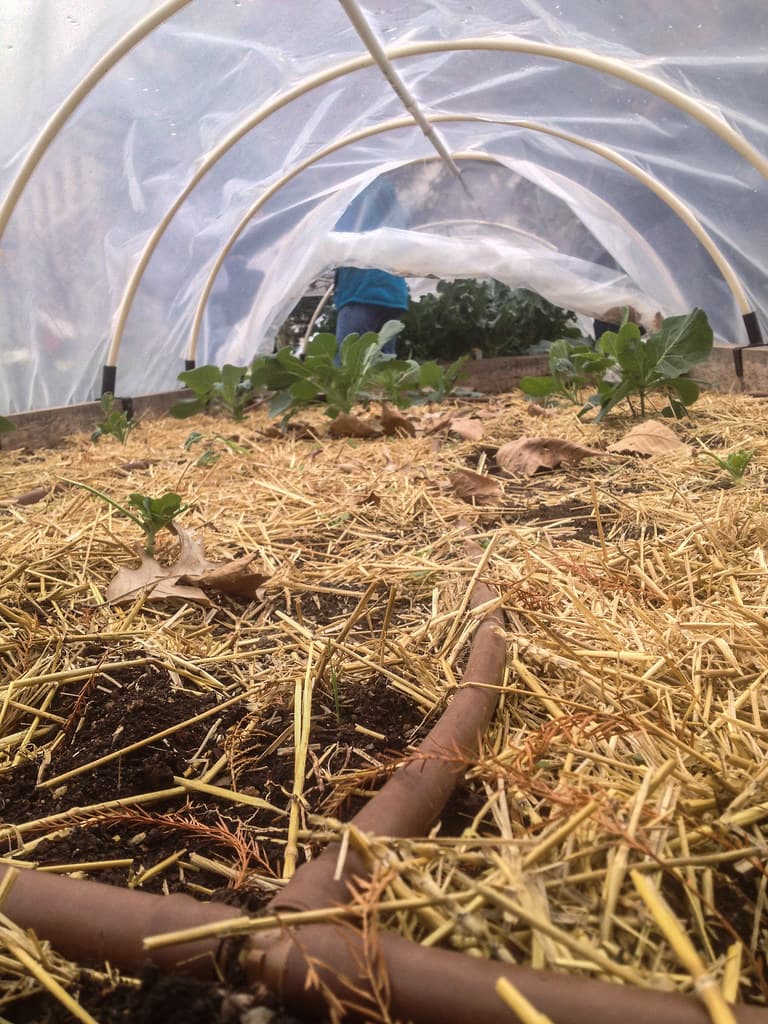
Task 6: Mulch beds for winter protection
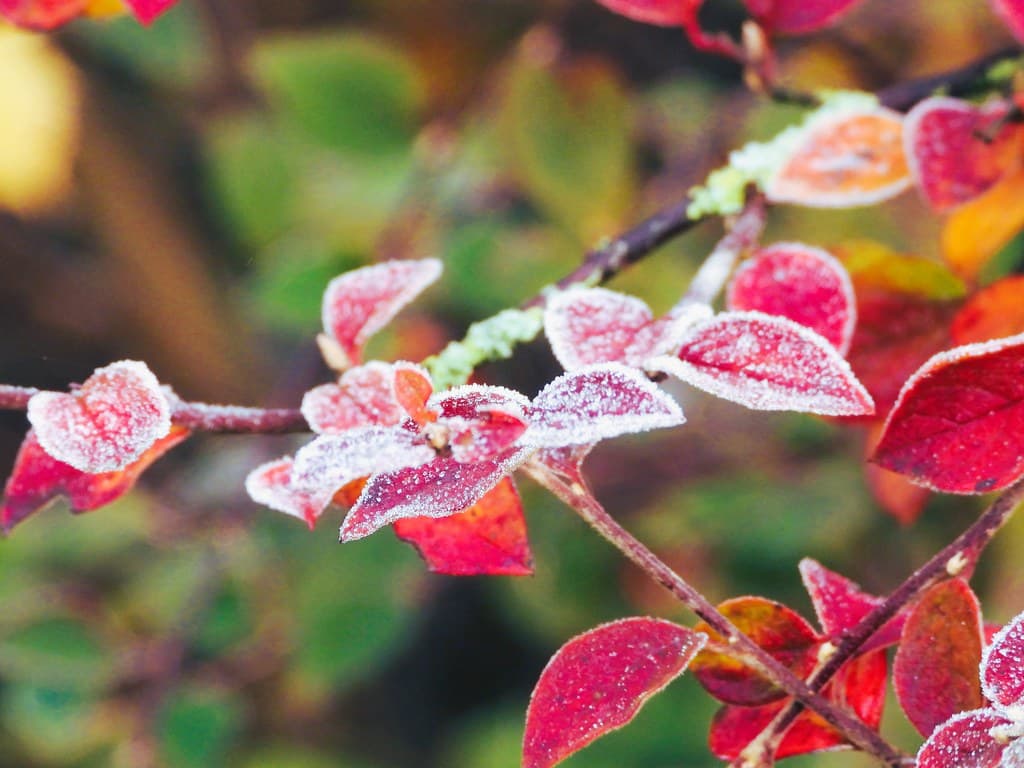
Winter mulch does two things: it insulates the soil from extreme freeze-thaw cycles that heave plant roots and damage soil structure, and it moderates moisture loss during dry cold periods. Three to four inches of straw, shredded leaves, or wood chips is the target depth.
Time mulching correctly: apply after the first hard frost but before the ground freezes solid. If you mulch before first frost, you trap warmth and delay dormancy for perennials. If you wait until the ground is frozen, the mulch can't moderate the temperature it's meant to protect.
Shredded leaves are the best free mulch available. Run the lawn mower over a leaf pile twice to shred them. Whole leaves pack down and create an anaerobic mat. Shredded leaves decompose into compost by spring without any extra work.
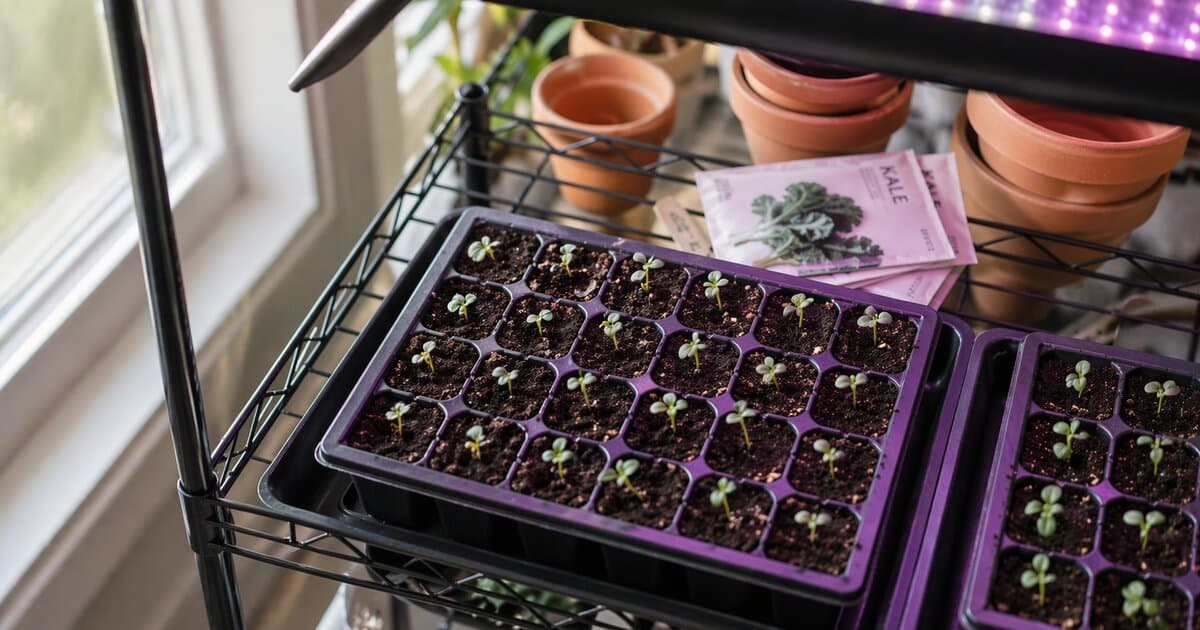
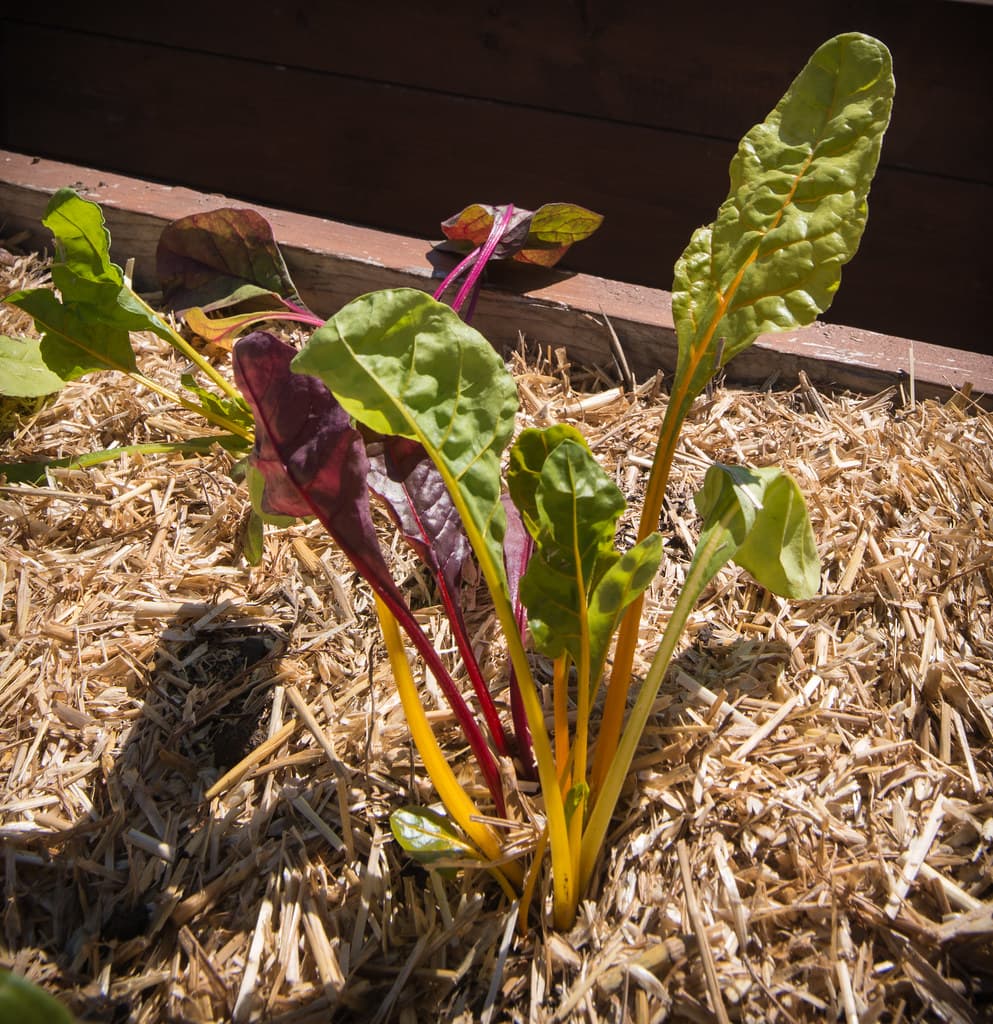
Task 7: Keep growing with cold-hardy crops
Fall is not the end of the harvest season. It's the beginning of a different one. Crops in the Brassica family (kale, spinach, arugula, mizuna, chard) taste better after a frost because cold temperatures convert starches to sugars. Kale hit by a freeze is measurably sweeter than kale harvested in September.
Kale
Hardy to 10°F
Improves in flavor after frost. Harvest outer leaves through December in Zone 6.
Spinach
Hardy to 15°F
Germinate by late September. Mulch with row cover to extend well past frost.
Arugula
Hardy to 22°F
Fastest cold-season crop. Direct sow 6 weeks before first frost.
Carrots
Hardy to 15°F
Leave in ground after frost. Flavor peaks when soil temps drop below 40°F.
Mâche (Corn Salad)
Hardy to 5°F
The most cold-tolerant salad green. Sow in late September, harvest all winter.
Garlic Greens
Hardy to 0°F
The fall-planted cloves send up shoots in late winter. Harvest young greens for salads.
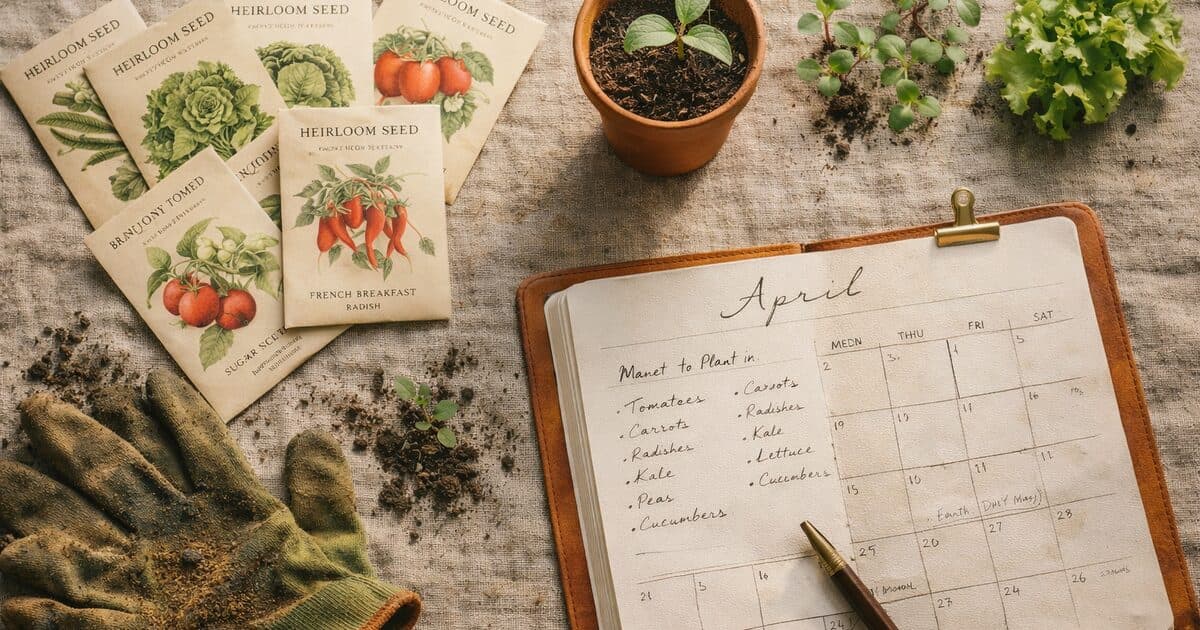
Task 8: Plan next year's layout while this season is fresh
The single best time to plan next year's garden is right now, while you still remember what worked and what didn't. In April you will have forgotten which corner of the raised bed got too much shade, which tomato variety underperformed, and which section produced nothing but weeds.
Sketch the current year's layout on paper or take a photo. Note where each crop family grew. Next year's rotation rule: move each crop family at least two beds over from where it was. The Solanaceae (tomatoes, peppers, eggplant) should not return to the same spot for three years. They share pests and diseases that build up in soil over time.
Order seeds in November and December, before varieties sell out. The best heirloom tomato varieties from small regional seed companies sell out by February. A winter afternoon browsing seed catalogs with last year's garden notes is one of the pleasures of the off-season, and the investment pays off every time you bite into something you couldn't have bought at any store.